

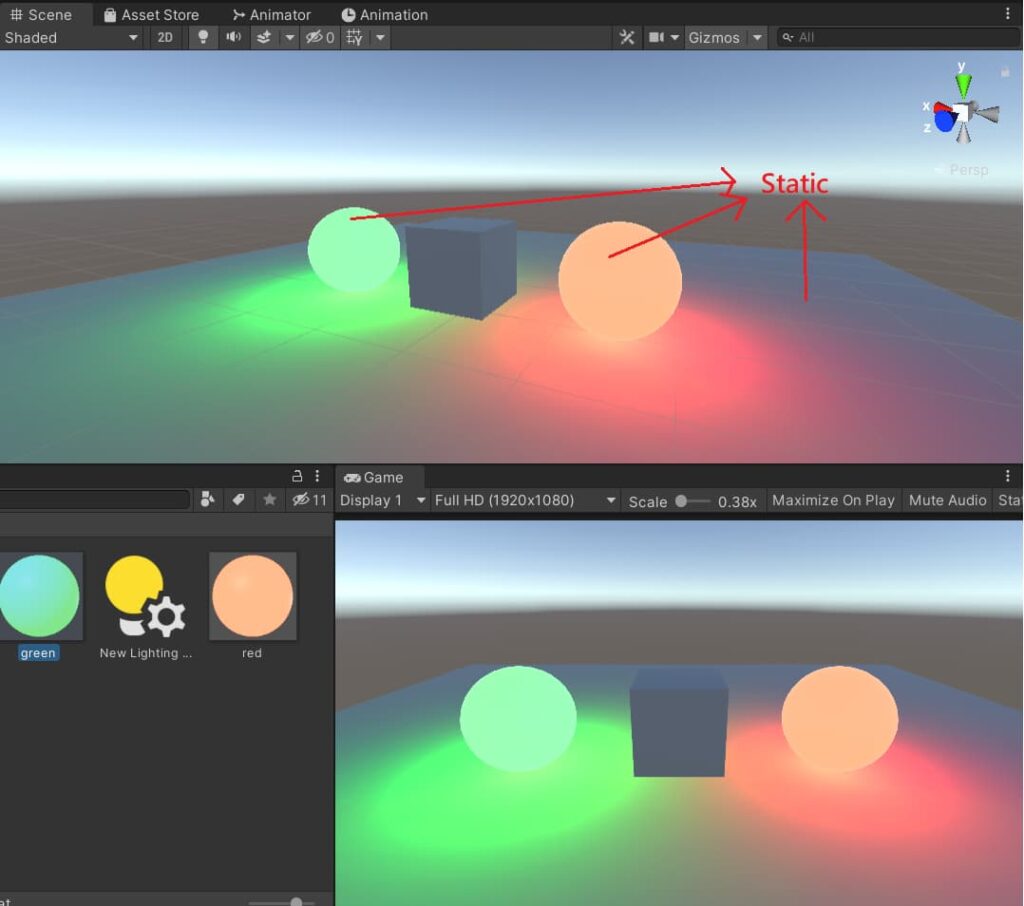
Light Probe Group 的功能:吸收周圍靜態物件的光線給動態物件。
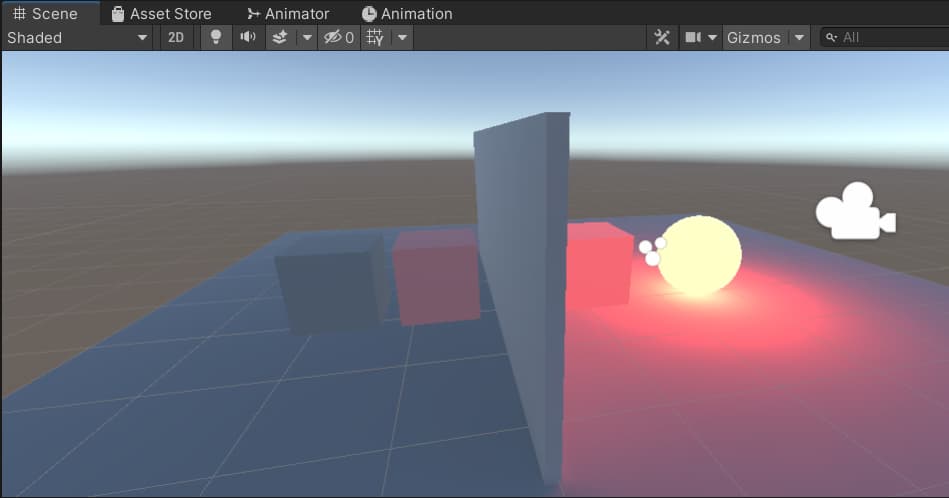
在Unity中,只有靜態物件會受到材質球的Emission影響(要先Bake過)。 但有時也希望角色等動態物件也能受到影響,Light Probe Group 就能用來達成。 (為了看得更清楚,這裡先關掉Directional Light。)
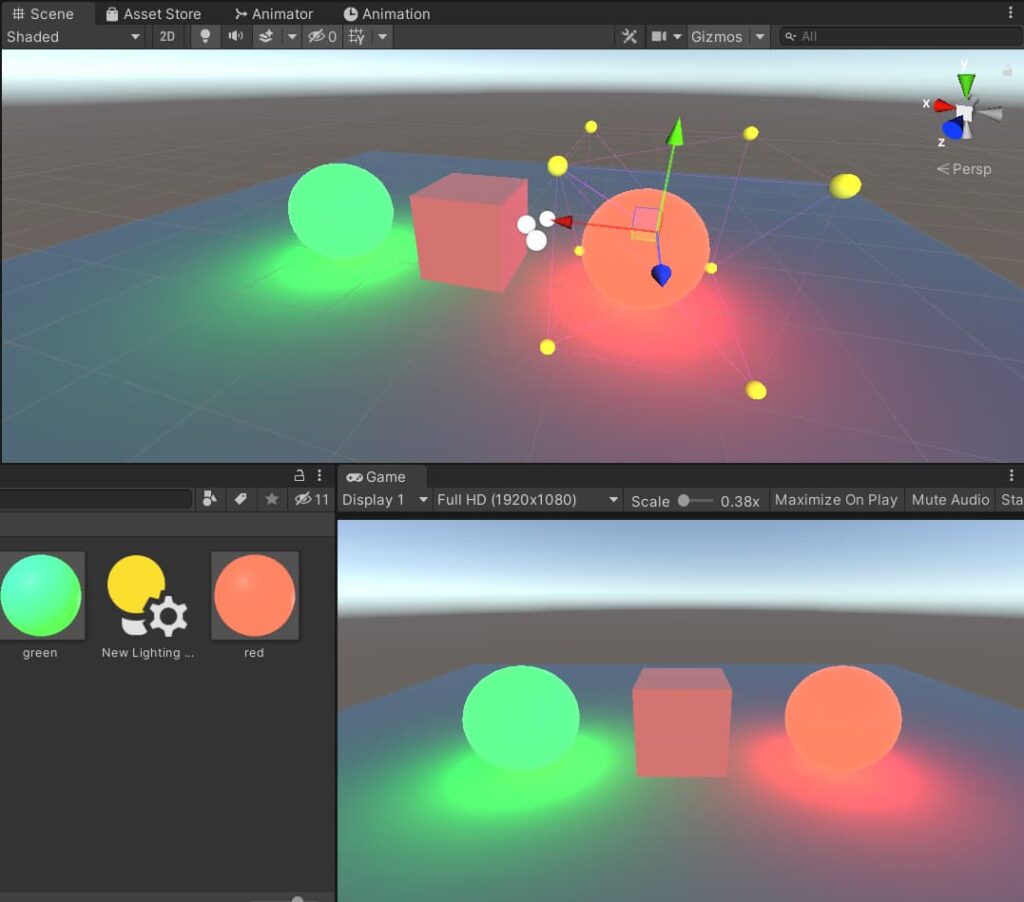
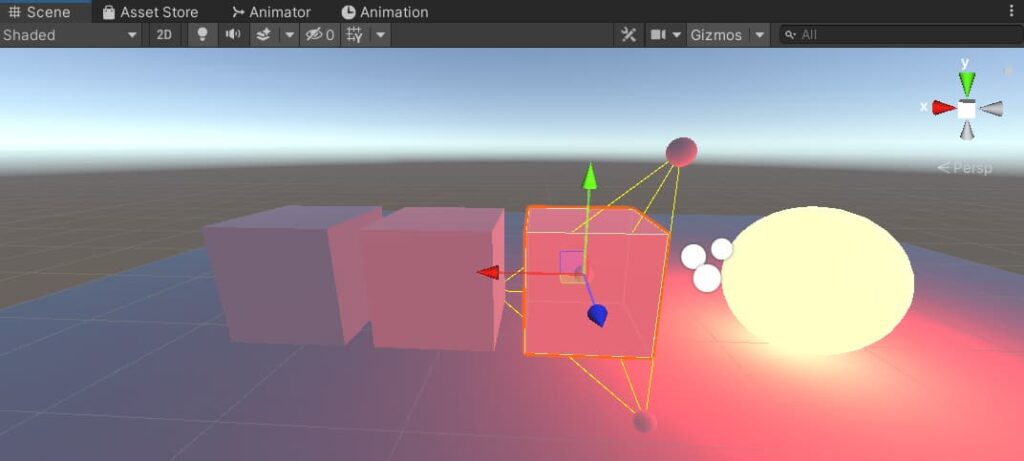
加了Light Probe Group 後動態物件上也會有光了。 Light Probe Group會吸取八個點所圍成區域的光,並「照射」在動態物件上。
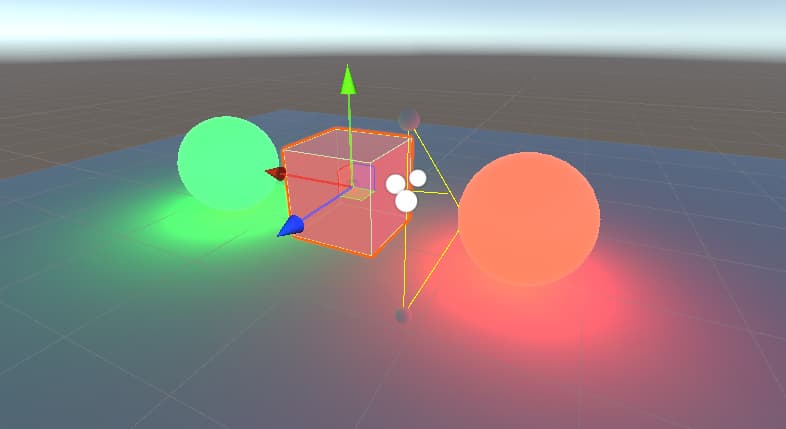
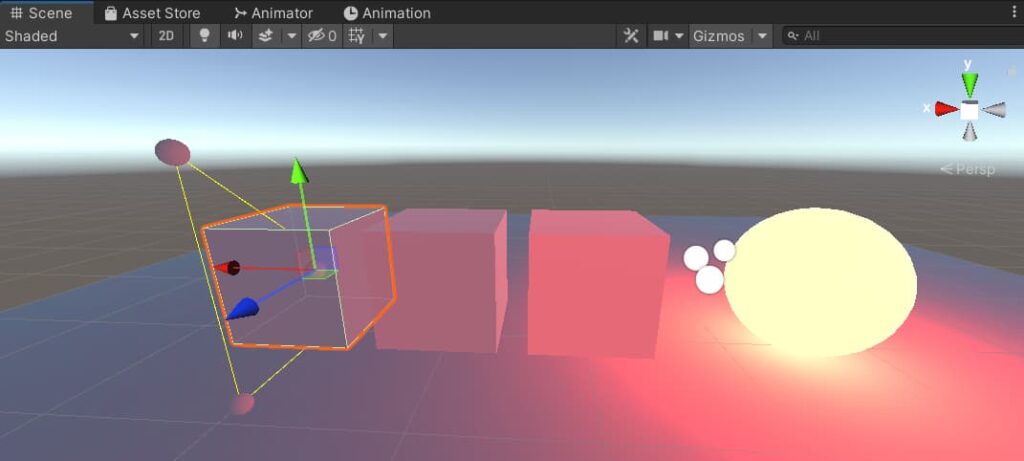
可以看到,每個動態物件都會吸取最近的三個點的光源。 也就是說,不管離得多遠、甚至中間有其他障礙物,都還是會照射得到。
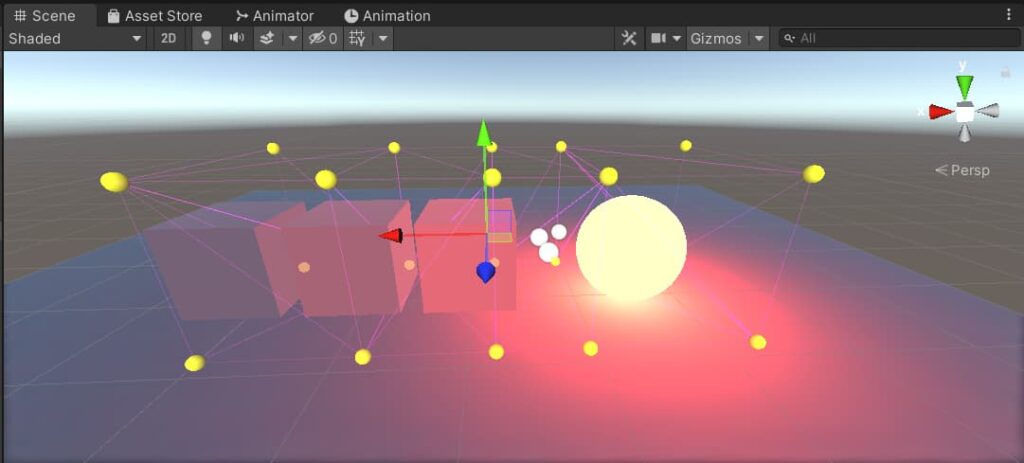
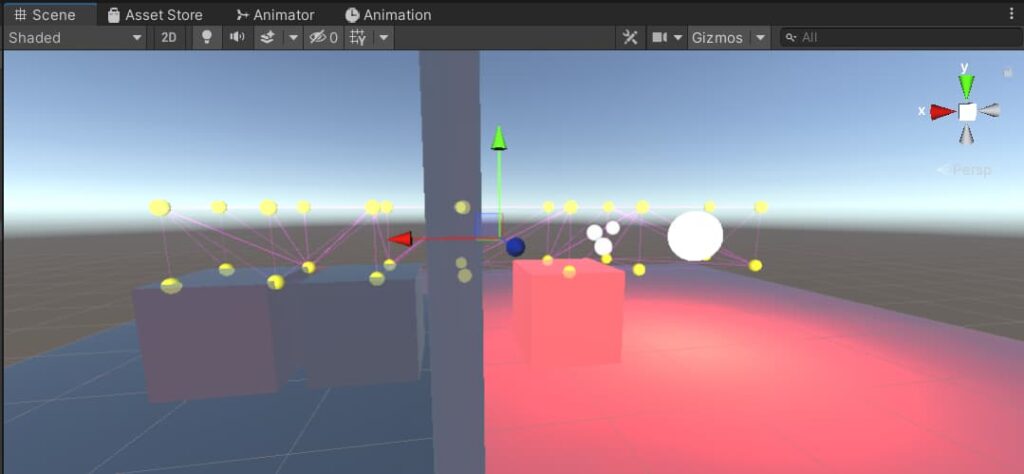
因此,要讓畫面「正常」,必須多複製幾個Light Probe,這樣每個動態物件就只會吸取周遭最近三個點的顏色。

但Light Probe Group並不會判斷物件是否被遮住、是否應該被照射…等,只會無差別的吸取鄰近Light Probe的光,要確實達成合理的光照,必須多複製幾個點,讓Light Probe的採光更精緻,「模擬」出合理的光照。
總結Light Probe Group的重點:
- 只作用於非靜態物件。
- 每個非靜態物件的光照都會由最近的三個Light Probe決定。
- Light Probe的數量決定了採光的精準度。
- 推薦一個優質的Youtube教學。
by Steven


I love iit when people clme togther and share
thoughts. Greqt blog, stick with it!
It’s remarkable in favor oof mee to have a website, whih is beneficial in suppkrt of my experience.
thanks admin